Google Cloud Platform (GCP) provides a robust environment for managing databases and offers faculty an opportunity to explore SQL Server’s capabilities for research and teaching. This guide will walk you through setting up a Google Cloud SQL Server connection and creating a database to use for your projects. The instructions are based on a setup for an NC State University project and adapted for general use by faculty or students.
Prerequisites
Before starting, ensure you have:
- Access to a GCP project: Contact your institution’s IT department if you need access.
- Google Cloud SDK: Download and install the SDK for your operating system from Google Cloud SDK Docs.
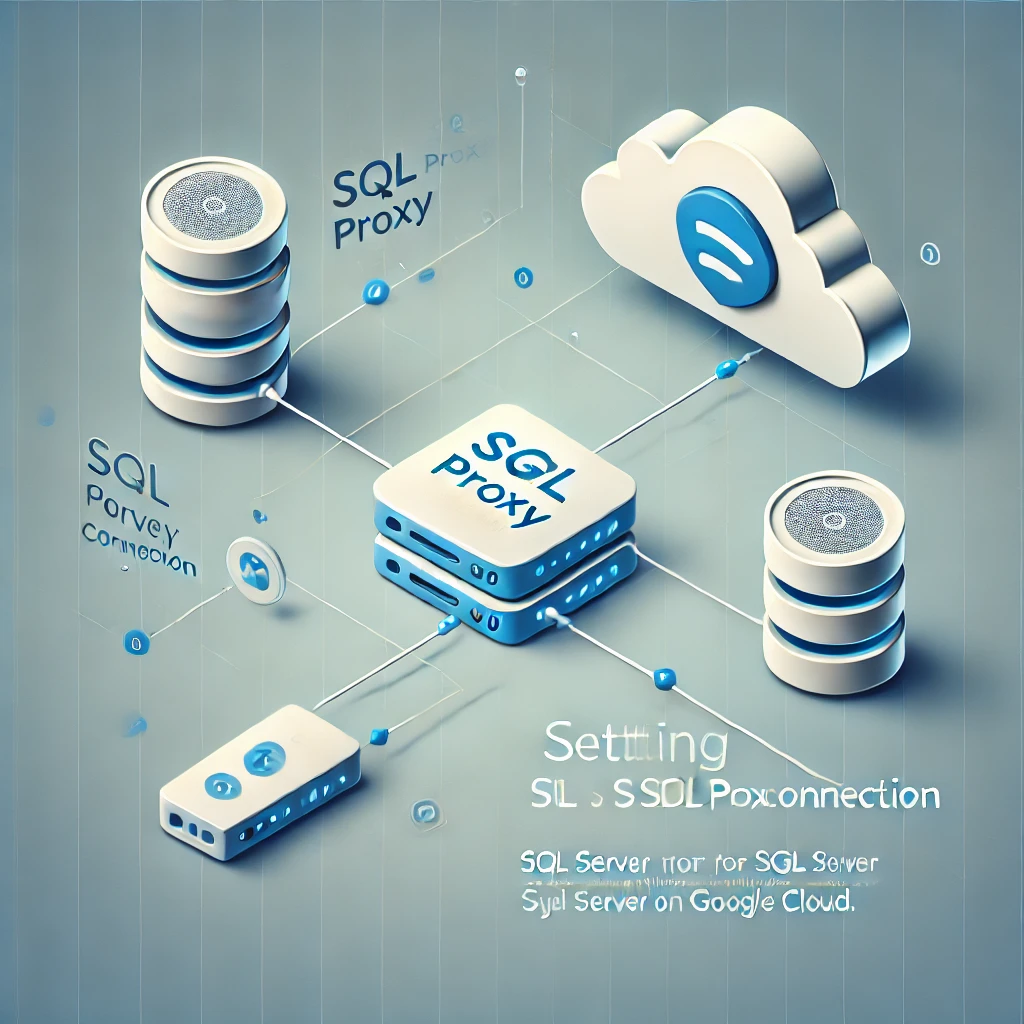
- Google Cloud SQL Proxy: You’ll need this to securely connect to your database. Instructions for installation are provided below.
- Azure Data Studio: A database management tool for interacting with your SQL Server.
Step 1: Install Google Cloud SDK
- Download the correct version of the Google Cloud SDK for your operating system from Google Cloud SDK Docs.
- Move the downloaded folder to your project directory. For example:
- Open a terminal and navigate to the SDK’s
binfolder: - Initialize the SDK:
- Log in with your institutional email and select the appropriate GCP project.
Step 2: Authenticate with the GCP Project
To authenticate, run the following command:
./gcloud auth login
Make sure to select the project allocated for your department or course.
Step 3: Install Google Cloud SQL Proxy
- Navigate to the Proxy directory:
- Download the proxy:
Replace
[OS]with your operating system (e.g.,darwinfor macOS). - Make the proxy executable:
Step 4: Configure the Environment
- Add the
gcloudexecutable to your system’s PATH:- Open your bash profile:
- Add the following line:
- Save and apply changes:
- Verify the setup:
Step 5: Start the Cloud SQL Proxy
To connect the proxy to your GCP database, run the following command:
Replace [PROJECT-ID], [REGION], and [INSTANCE-ID] with your project’s details.
Step 6: Connect to the Database Using Azure Data Studio
- Download Azure Data Studio from Microsoft’s site.
- Open Azure Data Studio and create a new connection with the following details:
- Connection Type: Microsoft SQL Server
- Server:
127.0.0.1 - Authentication Type: SQL Login
- Username and Password: (Your database credentials)
Step 7: Start Using Your SQL Server Database
You are now connected to your database and can run queries, manage tables, and utilize SQL Server’s capabilities for your projects.
This guide simplifies the process for faculty members to explore SQL Server on GCP. If you encounter issues, feel free to reach out to your IT support or leave comments below.

Comments by rgcarrol